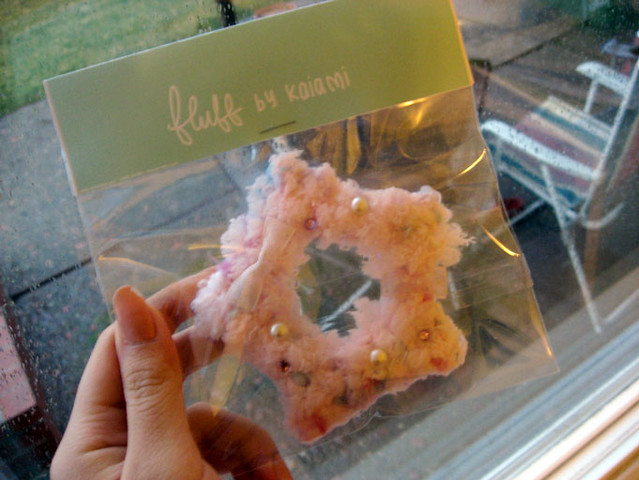
For my friend's birthday, I made her a fluffy star hair clip brooch. A girl on the EGL livejournal community posted a tutorial for making them a while back, and I wanted to try making one. I'm currently in the process of looking for it. This is the one that I made for my friend.
This puffy star is based off of star pin/brooch/hairclips made by Chocomint. Photo from rakuten.co.jp.

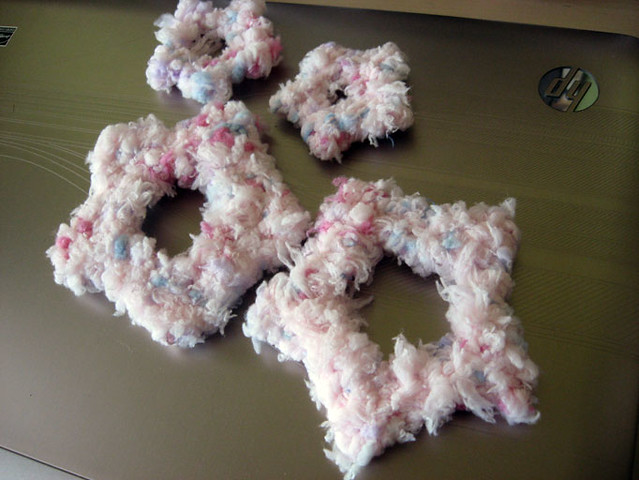
I really like making these because they're cute and fairly fun and simple to make. All of them come out a little differently.
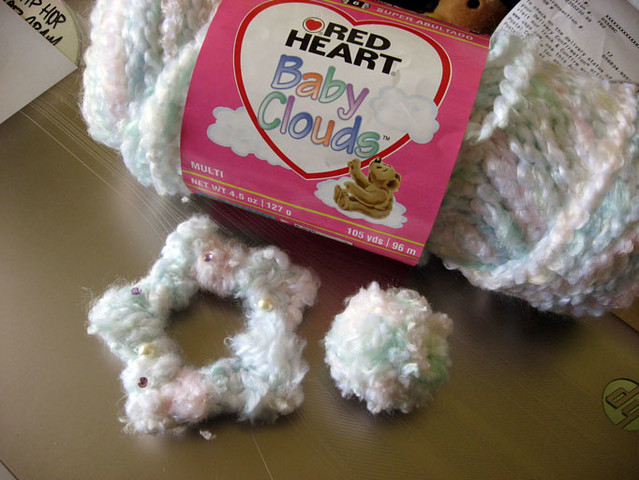
Another type I used was Red Heart Baby Clouds, also found in the baby section.
Alright, onto the tutorial.
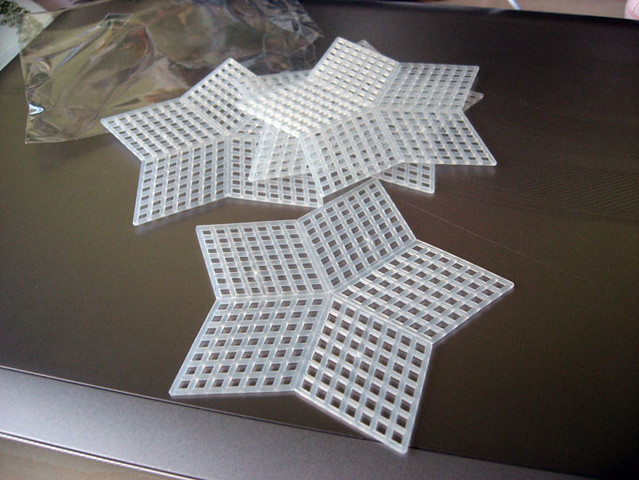
Aside from yarn, you'll need plastic canvases. Craft stores like Michael's and Joann's both carry them. These come in a pack of ten, and I believe they were less than $2.
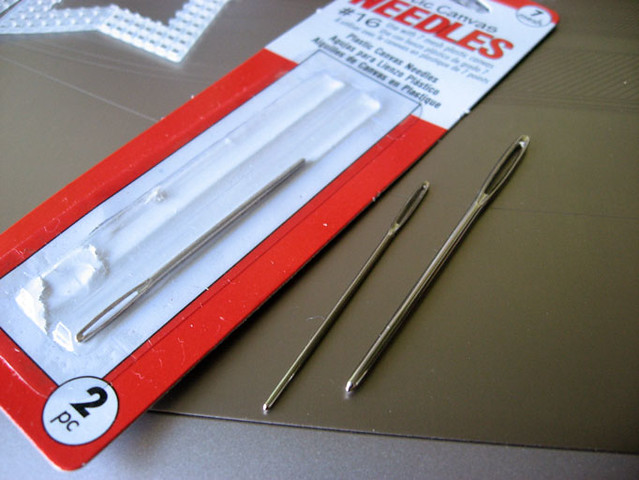
Also, have some plastic canvas needles ready.
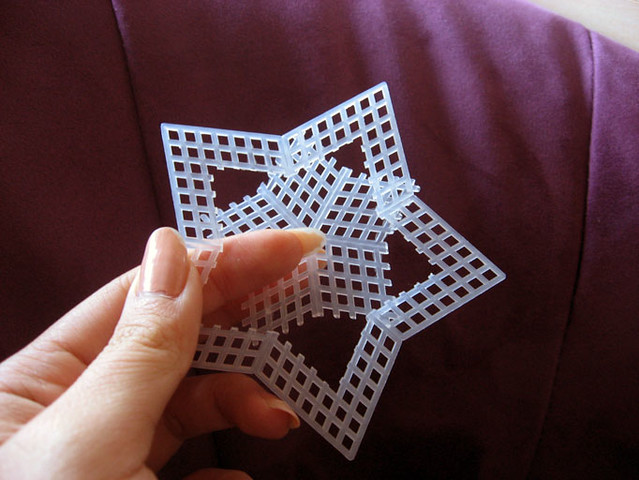
Getting started! Take a scissor and cut out the middle. I prefer to cut it at two rows, but it's really up to you what you prefer to do. Anything works, including not cutting it out at all. If you are cutting it out, save the middle so you can make something with it later on.
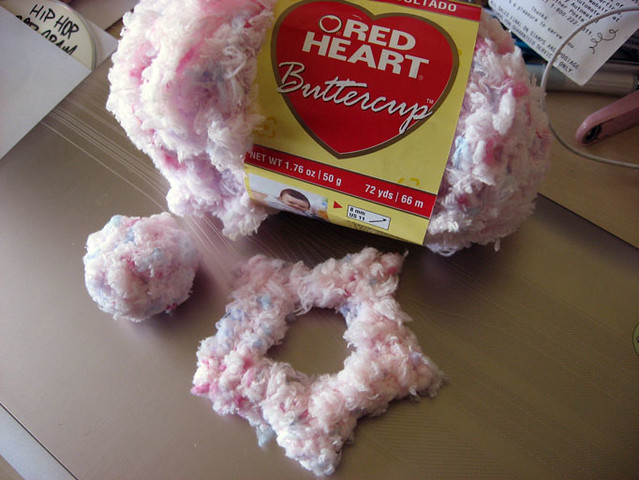
Next, choose your yarn and start threading it through. I like to start from a corner.
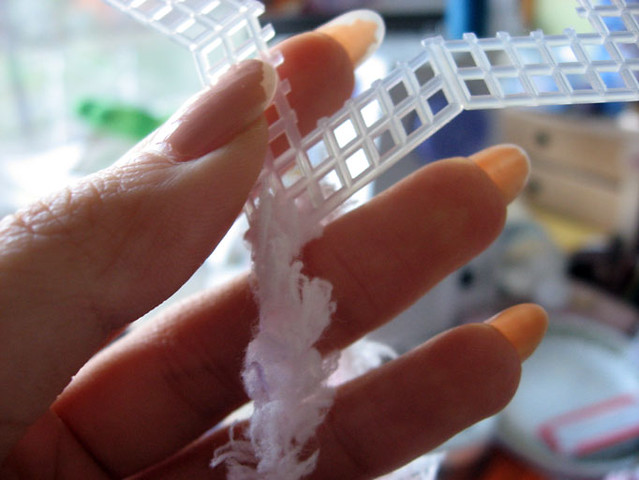
Occasionally, you might have your yarn stuck. It happens to me all too often.
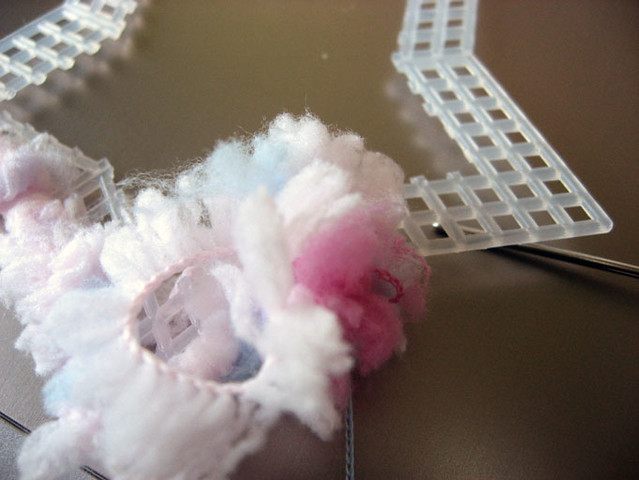
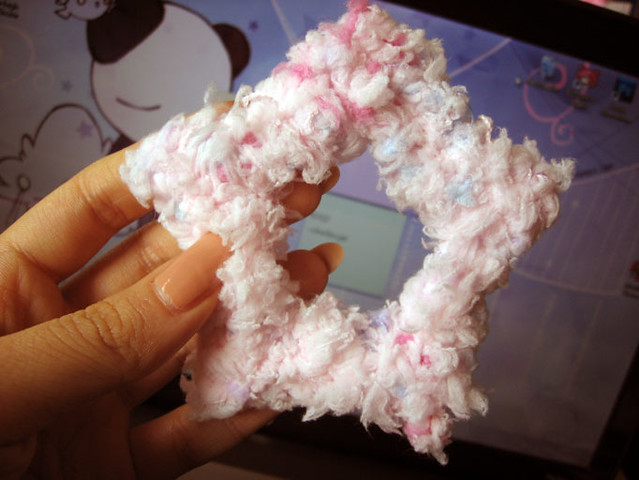
After you thread it through once, you can choose to thread through as many more times as you want for added poof. For reference, I do two to three layers of yarn.
Here is my result!
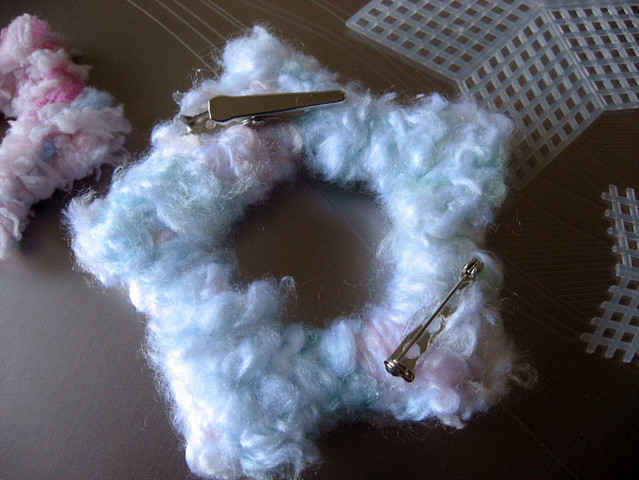
For the backing I bought a box of alligator clips and brooch pin backings. Chocomint uses the double kind, so you can have both the clip and pin at the same place. I decided not to do that because I find two-way backings inconvenient at times. But that is just my personal preference. If you'd like the two way backings, there are some sellers for them on etsy.

I attached them with hot glue on the back. You can choose to place them together or separately.
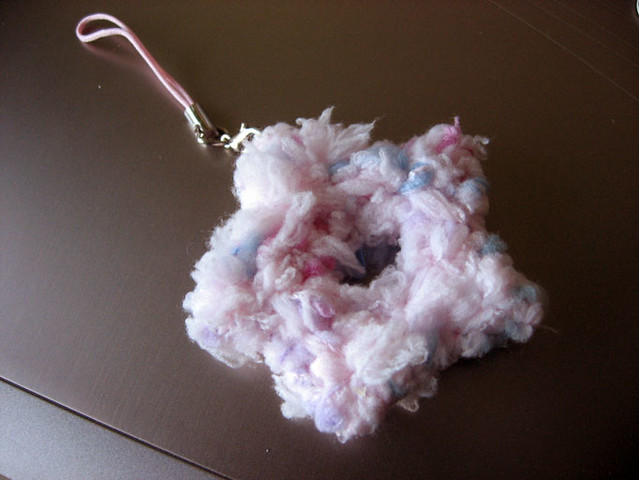
Don't forget about the star that was cut out from the middle! You can use those to make them into brooches or hairclips too, or even have them connected to the bigger star as a dangle. I make them into a cell phone strap.
That's all for now. Part two (hopefully I get as far as to make it) will be on decorating. I'm thinking of sending one of these out as a blog giveaway. If there's any interest, I'll make a giveaway post too.
Love, Kai
6 comments:
Your friend is super lucky ;D
I've actually been wondering how to make these for awhile now. Thanks so much for the tutorial! :)
Wow! I love how those turn out! And they don't seem very hard to make, which is definitely a plus for me because I'm not particularly skilled at crafts XD
thanks for the tutorial ^^ i think i will make a couple ^^ even though im not that much of a sweet lolita.
Thanks for the tutorial! I've seen these around but didn't know how to make them~
Thank you so much for this! This looks much sturdier than cardboard which is what the other tutorial suggested.
Hey this is brilliant! I love the idea of making one of these!
Post a Comment